What microtomy is
A microtome advances a paraffin block against a sharp blade in precise increments, shaving off a section with each pass. Routine sections are cut at 3–5 µm — thin enough for light to pass through and for cellular detail to be seen after staining. The thin ribbons produced here carry the diagnostic information forward, so uneven, thick or folded sections compromise everything downstream, no matter how good the staining.
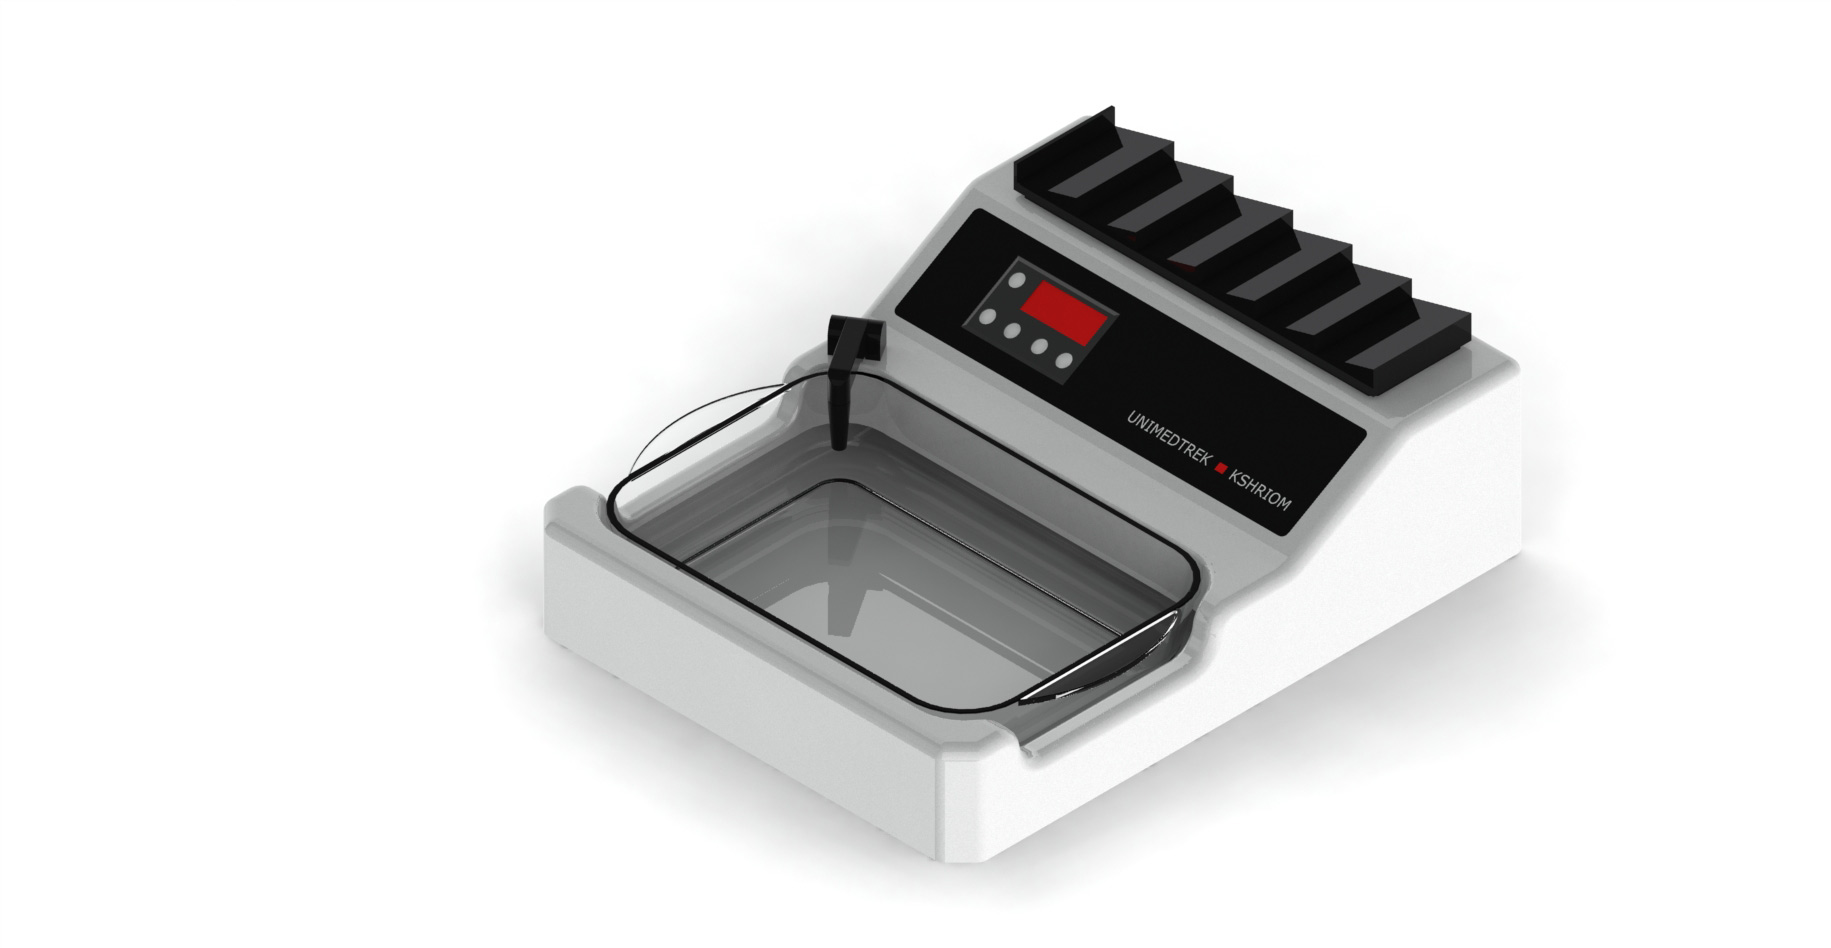
Types of microtome
- Rotary microtome — the histology workhorse; a handwheel rotates to advance the block and cut. Most routine paraffin work uses one.
- Motorized (semi- or fully automatic) rotary microtome — a motor drives the cutting stroke for a smooth, repeatable advance, reducing chatter and operator fatigue on high volumes.
- Sliding microtome — the blade (or block) slides horizontally; used for large or hard specimens.
- Cryostat (freezing) microtome — a microtome inside a freezer for frozen section; see the Complete Guide to Cryostat Microtomes.
How a rotary microtome works
Three things define the cut: the feed mechanism that advances the block by the set thickness, the blade and its edge, and the clearance angle between blade and block. A precise, backlash-free feed gives even sections; the right clearance angle (commonly a few degrees) lets the edge cut cleanly without the block face rubbing the blade. Specimen retraction on the return stroke protects the edge and the block face. Good orientation of the block in the holder lets the technologist face the tissue squarely to the blade.
Features that matter
- Smooth, precise feed with accurate, repeatable thickness setting (and a separate coarse/trim setting).
- Motorized cutting for consistent ribbons and less fatigue at high volume.
- Specimen retraction to protect the edge and the block.
- Orientable specimen holder (x-y-z) to square the block to the blade quickly.
- Secure, low-vibration blade holder compatible with your disposable blades.
- Safety features — a blade guard and a handwheel lock that are genuinely used.
Common microtomy faults — and where they really come from
The single most useful fact in microtomy is that most faults blamed on the instrument are blade or block faults:
- Chatter / venetian-blind lines — loose blade or block, wrong clearance angle, or a block too hard/cold.
- Thick-and-thin sections — blunt blade, loose clamp, or a worn feed; also dehydration/processing issues.
- Folds and wrinkles — section relaxed at the floatation bath, not at the knife (see the Complete Guide to Tissue Floatation Baths).
- Scoring / scratches (lengthwise lines) — a nick in the blade edge or debris/calcium in the block.
- Sections won't ribbon — block too warm, edge blunt, or static; cooling the block on ice usually helps.
A clean section depends on a well-processed, well-embedded block (see the tissue-processing guide) as much as on the microtome.
Blades, maintenance and safety
Use a fresh blade edge for each block or session, set the correct clearance angle, and keep the instrument clean of paraffin debris that causes drag. A microtome blade is extremely sharp: engage the handwheel lock whenever your hands are near the edge, use a guard, and dispose of blades into a sharps container. Periodic preventive maintenance keeps the feed accurate and backlash-free over years of daily use.
Frequently asked questions
At what thickness should paraffin sections be cut?
Routine histology sections are cut at 3–5 µm. This is thin enough for light to pass through the section and for cellular detail to be seen after staining; specific applications may use slightly thinner or thicker settings.
What causes chatter (venetian-blind lines) in sections?
Chatter usually comes from vibration — a loose blade or block clamp, an incorrect clearance angle, or a block that is too hard or too cold. Tightening clamps, correcting the angle and adjusting block temperature normally fixes it.
Is a motorized microtome better than a manual one?
For high or steady volumes, yes — the motor gives a smooth, repeatable cutting stroke that reduces chatter and operator fatigue and improves section consistency. For lower volumes a good manual rotary microtome is perfectly capable.
Why won’t my block ribbon?
Common causes are a block that is too warm, a blunt blade edge, or static electricity. Cooling the block face on ice, using a fresh edge and managing static usually restores ribboning.