Home › Knowledge › Organoid Histology: How to Process and Embed 3D Cultures
Knowledge articleOrganoid Histology: How to Process and Embed 3D Cultures
Turning tiny 3D cultures into sectionable paraffin blocks without losing them.
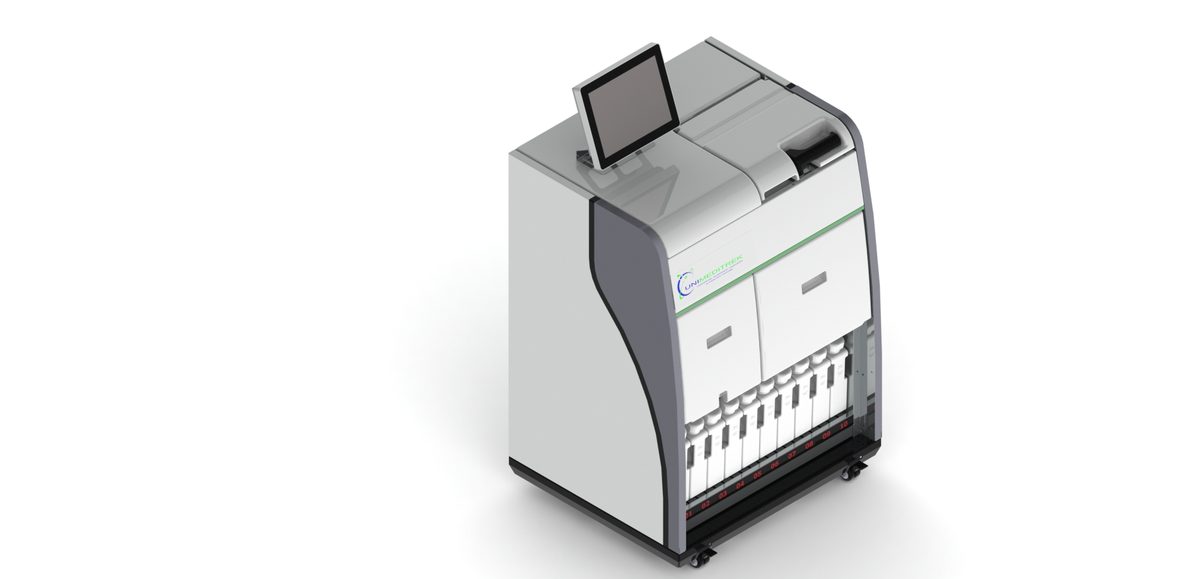
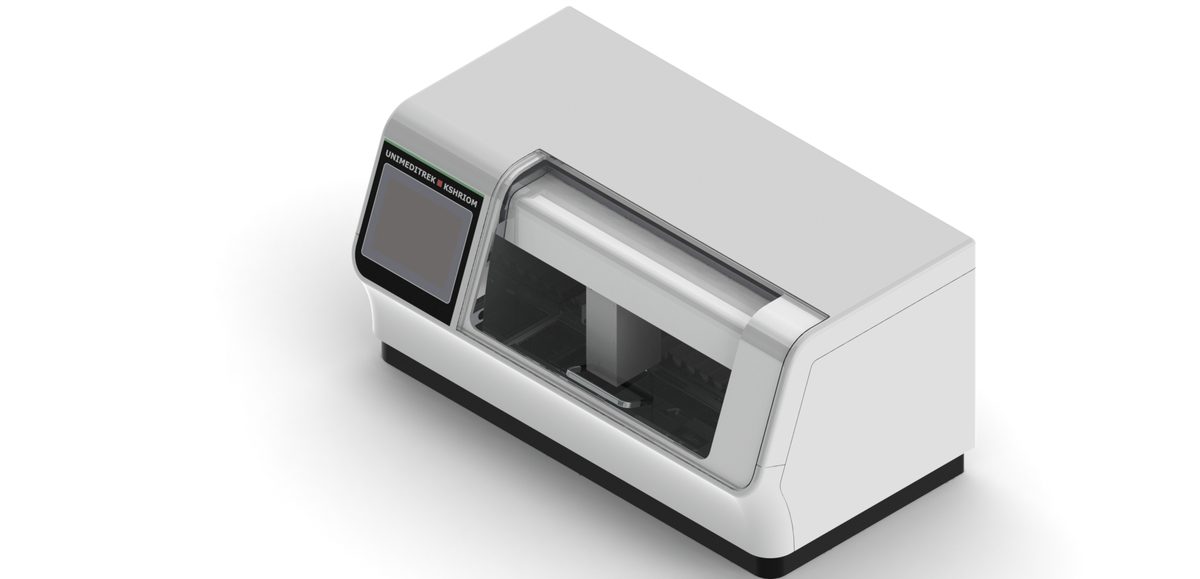
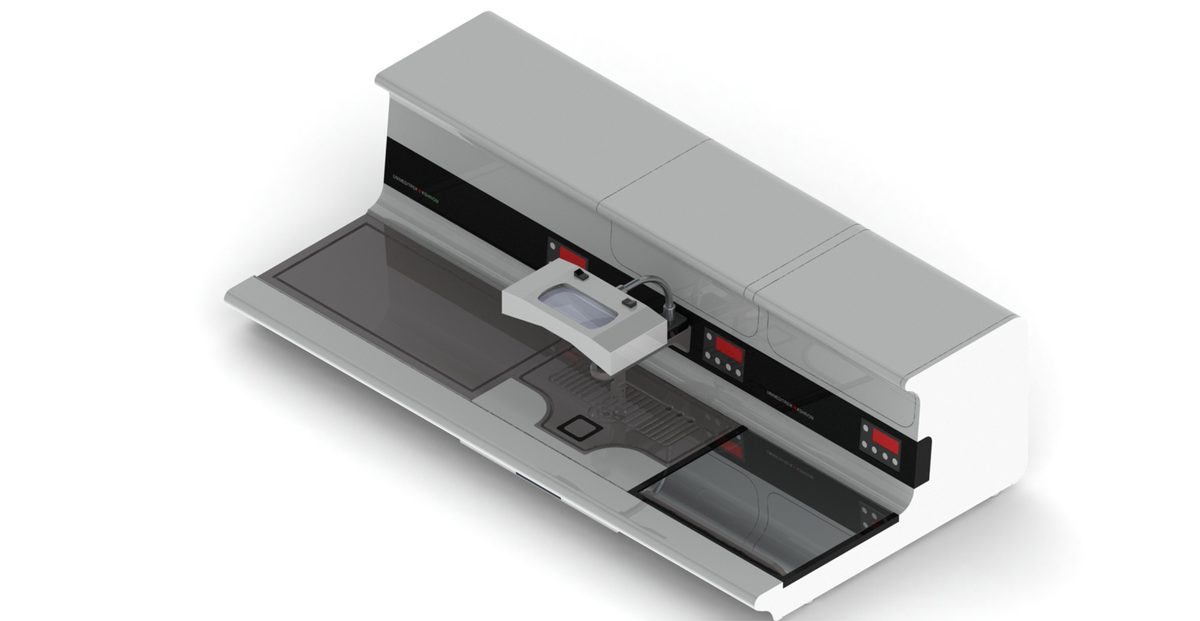
The first time a lab is handed a tube of organoids and asked for "routine H&E," there's usually a pause. The biology is exciting — 3D cultures grown from a patient's own cells — but the specimen itself is smaller than a grain of sand and nearly transparent. Everything about the histology is familiar; the only genuinely hard part is not losing the thing. Here's how organoids move through the FFPE workflow, and where a standard tissue processor and embedding station fit in.
Why they come to us at all
Once an organoid is fixed and embedded in paraffin, you can stain it with the same H&E, special stains and IHC you've used for years. That's the appeal: a "tumour in a dish" can be read on the same terms, and compared against the patient's own tissue, without inventing a new method.
The real problem: losing the specimen
A single organoid can vanish in a decant or cling to a pipette tip and never make it to the cassette. So the whole game is to concentrate the organoids into something you can actually see and handle before processing starts.
Make it visible, make it containable
The trick most labs settle on is to pellet the organoids and pre-embed them in a gel — agarose, or a plasma-thrombin / HistoGel-type medium — so they sit in a small, handleable disc. Add a touch of eosin or a food dye and suddenly you can see the pellet at embedding and at the knife. Wrap anything fragile in lens paper inside the cassette so nothing slips through the slots.
Fixing and processing
Because they're tiny, organoids fix fast — brief formalin is usually plenty. On the processor, treat them like a biopsy: a short, gentle schedule, not the long routine run, which over-hardens them. See processing protocols for matching the run to a small specimen.
Embedding and sectioning
Lay the gel disc flat so the organoids sit in one plane — it saves you facing halfway through the block hunting for them. Then take those first sections slowly and cut levels, exactly the discipline you'd use for any small, sub-millimetre specimen.
The short version
Organoid histology is won at the handling bench, not the staining rack. Concentrate them, colour the pellet, fix briefly, run short, embed flat — do that and an organoid behaves like any other small biopsy.
FAQs
How are organoids prepared for histology?
Organoids are pelleted and pre-embedded in a gel (such as agarose or a plasma-thrombin/HistoGel-type medium), often dyed for visibility, then fixed, processed and paraffin-embedded like a small biopsy for H&E and IHC.
Why are organoids easily lost during processing?
A single organoid is often sub-millimetre and translucent, so it can be lost during pipetting or reagent changes. Concentrating them into a coloured gel carrier before processing prevents this.
Prepared and reviewed by the Unimeditrek technical team based on laboratory practice, installation and service experience. This document explains histopathology workflow, laboratory practice and equipment based on the questions we hear from hospitals, medical colleges and diagnostic laboratories — vendor-neutral where it explains the science and practical where it explains equipment.
Prepared by Unimeditrek Pvt. Ltd.. For product specifications and quotations, contact our team.