Home › Knowledge › Microtomy Technique: Achieving Ribbon-Quality Paraffin Sections
Knowledge articleMicrotomy Technique: Achieving Ribbon-Quality Paraffin Sections
Mastering the Art of Microtomy for Histopathology
Understanding Microtomy in Histopathology
Microtomy is a crucial technique in histopathology that involves cutting thin sections of paraffin-embedded tissue samples. These sections, typically 3-5 micrometers thick, are essential for microscopic examination and diagnosis. The quality of the sections directly impacts the accuracy of the histopathological assessment, making it imperative to master the microtomy technique.
Preparing for Microtomy: Key Steps
Before starting the microtomy process, several preparatory steps must be followed:
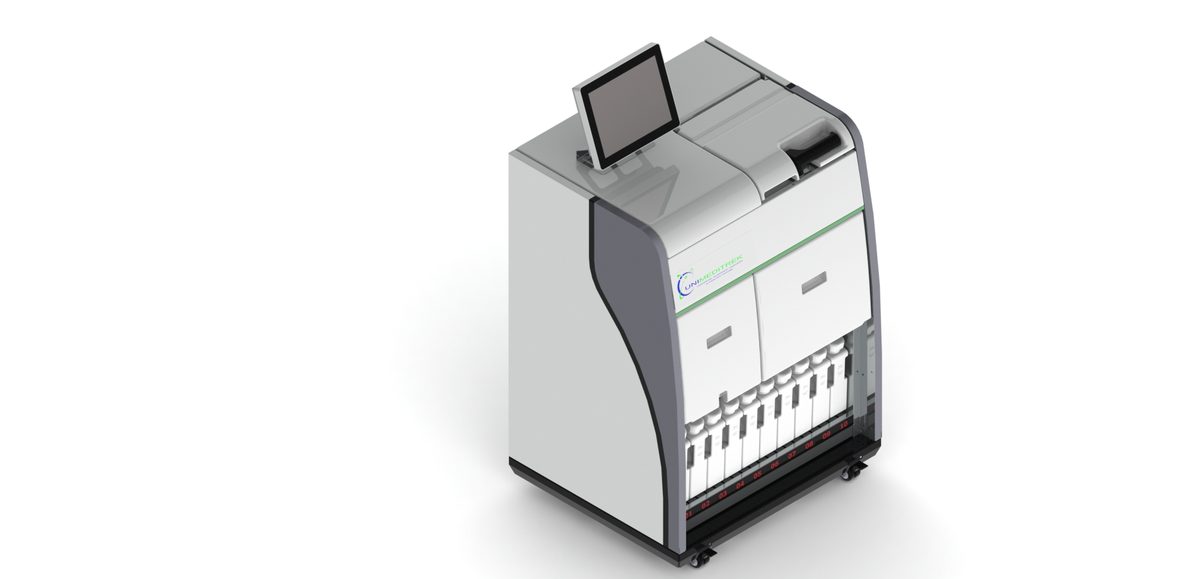
- Tissue Processing: Ensure that the tissue samples are properly processed using an Automatic Vacuum Tissue Processor. This machine aids in the dehydration, clearing, and infiltration of the tissue with paraffin, ensuring optimal embedding.
- Tissue Embedding: Use a Tissue Embedding Station to properly orient and embed the tissue in paraffin blocks. Correct orientation is critical for achieving uniform ribbon sections.
Microtomy Technique: Cutting Perfect Sections
Once the tissue is embedded, the actual microtomy process begins:
- Setting Up the Microtome: Use a Cryostat Microtome for frozen sections or an appropriate rotary microtome for paraffin-embedded tissues. Ensure that the microtome is calibrated and blades are sharp for optimal cutting.
- Section Thickness: Adjust the microtome to the desired thickness (usually between 3-5 micrometers). Thinner sections may result in better quality but require precision.
- Sectioning Technique: Employ a steady and consistent motion while cutting. Use the handwheel or foot pedal to maintain a smooth operation, avoiding jerky movements that can lead to uneven sections.
Post-Cutting: Ensuring Quality Sections
After cutting, the sections need to be collected and floated:
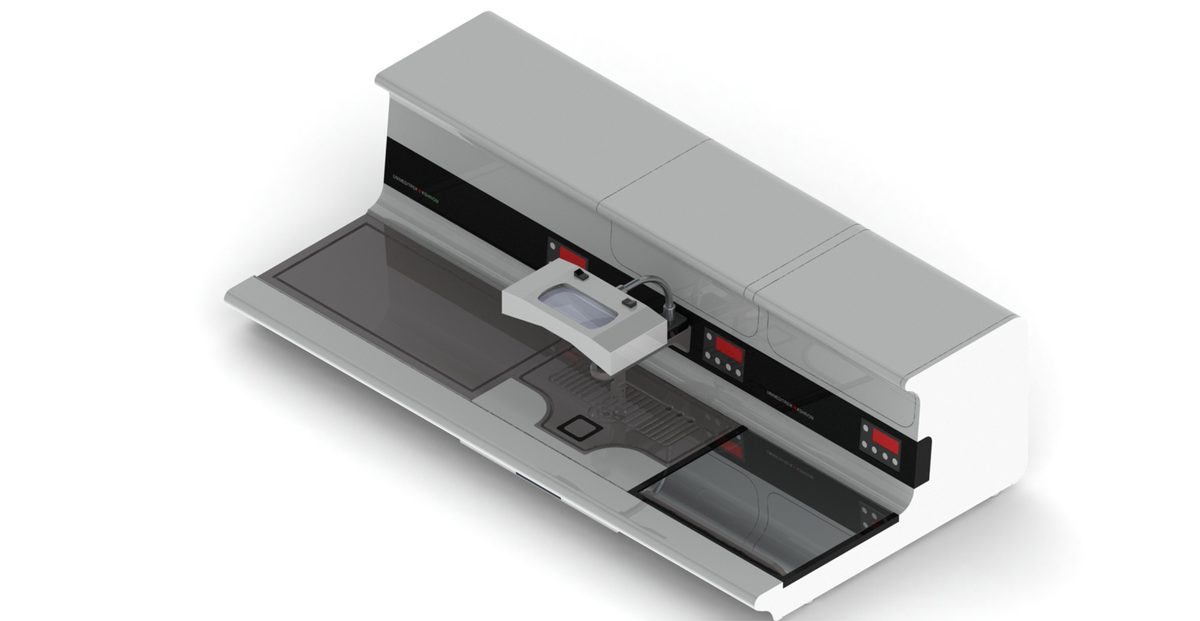
- Digital Tissue Floatation Bath: Transfer the sections to a Digital Tissue Floatation Bath to flatten and smooth them out. This step is vital for achieving the ribbon quality.
- Slide Preparation: Use a Slide Warming Table to gently warm the slides before placing the sections on them. This helps in adhering the sections properly.
Finalizing the Process: Staining for Visualization
Once the sections are on the slides, the next step is staining:
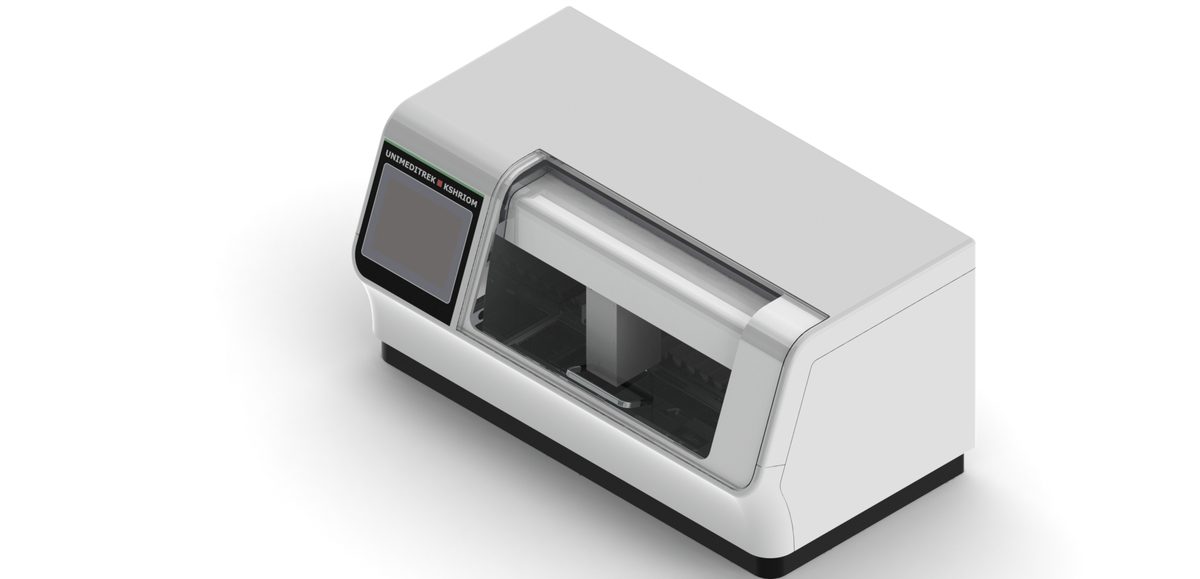
- Automatic Slide Staining Machine: Utilize an Automatic Slide Staining Machine for consistent and reproducible staining results. Proper staining enhances the visibility of cellular structures.
Practical Takeaway
Achieving ribbon-quality paraffin sections requires meticulous attention to detail in both the preparation and cutting processes. Utilizing advanced equipment from Unimeditrek not only streamlines these processes but also enhances the overall quality of histopathological examinations.
FAQs
What is the ideal thickness for paraffin sections?
The ideal thickness for paraffin sections is typically between 3-5 micrometers.
How can I ensure the quality of my microtomy sections?
Ensure proper tissue processing, embedding, and use sharp blades on the microtome for the best quality sections.
Prepared and reviewed by the Unimeditrek technical team based on laboratory practice, installation and service experience. This document explains histopathology workflow, laboratory practice and equipment based on the questions we hear from hospitals, medical colleges and diagnostic laboratories — vendor-neutral where it explains the science and practical where it explains equipment.
Prepared by Unimeditrek Pvt. Ltd.. For product specifications and quotations, contact our team.